Uploading and Creating Documents
You add documents to DocLock with the New Document dialog. You can drag files in (or browse for them), fill in a few details, and save — or skip the upload entirely and generate a brand-new document from an approved template.
How to open the New Document dialog
You can start a new document from two places:
- Document Explorer → All Documents — click the New Document button (or choose Upload File(s) from its menu).
- Inside a workspace — click New Document in the workspace header.
When you upload from inside a workspace, the dialog header confirms the destination — "Files will be saved to <workspace name>" — so you always know where the document will land.
If you don't see a New Document button inside a workspace, your workspace role doesn't allow uploading there. Read-only (public Global Resources) workspaces don't allow uploads at all.
What you see in the dialog
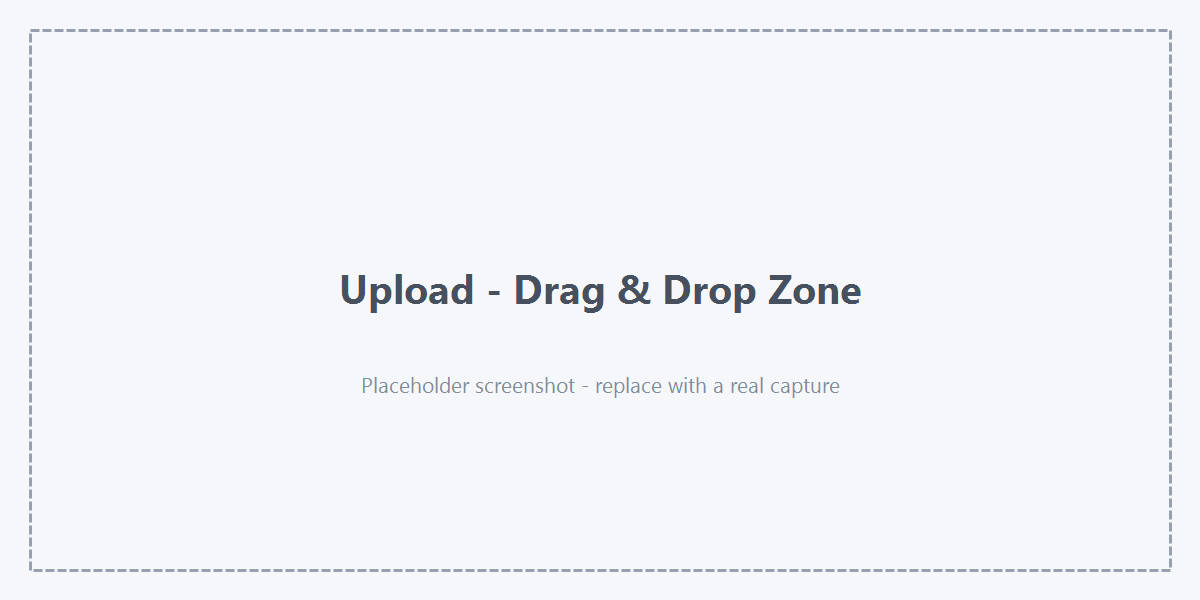
1. The drop zone
A large dashed area with a cloud-upload icon. It reads "Drop your files here" with an "or browse to choose files" link. Below that, a hint lists the supported types: PDF · DOCX · XLSX · PPTX · TXT · IMG · ZIP.
2. The "Start from a Template" option
While you haven't added any files yet, an OR divider appears with a Start from a Template button — use this to generate a document instead of uploading one (see below).
3. The details form
Once you add a file, a details form appears so you can describe it before saving.
4. Footer buttons
Cancel closes the dialog. The save button reads Save for one file, or Save All (N) when you've added several.
Uploading files
- Open the New Document dialog.
- Drag and drop one or more files onto the drop zone, or click it to browse.
- Supported file types are PDF, DOC, DOCX, XLS, XLSX, PPT, PPTX, TXT, PNG, JPG, JPEG, and ZIP. The file picker only allows these types.
- Each file you add appears as a pill with its icon, name, and size. Click a pill to edit that file's details; click the × on a pill to remove that file.
- Review the details for the highlighted file (see the next section).
- Click Save (or Save All) to add the documents. A progress bar runs, then a green confirmation appears — "Document saved successfully!" (or "N documents saved!"). Click Done to close.
Adding more files: after your first drop, the zone changes to "Drop more files or click to add" so you can keep adding to the same batch.
Filling in document details
For each file, a Details panel lets you set:
| Field | Notes |
|---|---|
| Document Name | Auto-filled from the file name; you can change it. |
| Type | Auto-detected from the file, read-only. |
| File Size | Auto-calculated, read-only. |
| Owner | Set to the current user, read-only. |
| Version | Defaults to v1.0; editable. |
| Workspace | The current workspace, read-only. |
| Initial Status | Choose Draft, In Review, Approved, or Published. |
| Category | Pick one of Policy, Contract, Report, Invoice, Manual, Form, Presentation, or Other. |
| Tags | Type a tag and press Enter to add it; click × on a chip to remove it. |
| Destination | The workspace root, read-only. |
When you've added more than one file, a counter (for example 2 / 3) shows which file you're editing, and you can move between them by clicking their pills.

AI suggestions
For some files an AI Suggestions banner appears, proposing a Category and Tags based on the file name and type. Click Accept Suggestions to apply them, or Dismiss to ignore them. Once applied, a small "AI suggestions applied" note replaces the banner.
Name conflicts: if a file name clashes with something already there, a yellow "Name conflict detected" banner lists the affected files so you can rename them before saving.
Starting from a template
If you'd rather generate a document than upload one:
- Open the New Document dialog and click Start from a Template (shown under the OR divider, before you've added any files).
- The template gallery opens. Pick the template you want.
- The template wizard opens and guides you through three steps:
- Variables — fill in the template's fields (such as names, dates, and amounts).
- Metadata & Location — set the title, target workspace, and security level.
- Finalize — review everything and create the document.
- When you finish, the new document is created and appears in the workspace.
Only published templates appear in the gallery. To create or change templates, see Managing templates.
Tips
- You can upload several files at once and give each its own name, status, category, and tags before saving.
- Set the Initial Status thoughtfully — a document saved as Published is treated as final, while Draft signals it's still being worked on.
- Good tags and the right category make documents far easier to find later and drive which attributes apply to them.
Troubleshooting
| Problem | What to check |
|---|---|
| The file picker won't let me choose my file | Only PDF, DOC/DOCX, XLS/XLSX, PPT/PPTX, TXT, PNG/JPG/JPEG, and ZIP files are accepted. |
| There's no New Document button in a workspace | Your workspace role may not allow uploading, or the workspace is read-only (public). |
| I see a "Name conflict detected" warning | A document with that name already exists — rename the file in its details before saving. |
| The Save button is greyed out | You haven't added a file yet — drop or browse for at least one file. |
| Start from a Template is missing | It only shows before you've added any files; remove your files to see it again. |